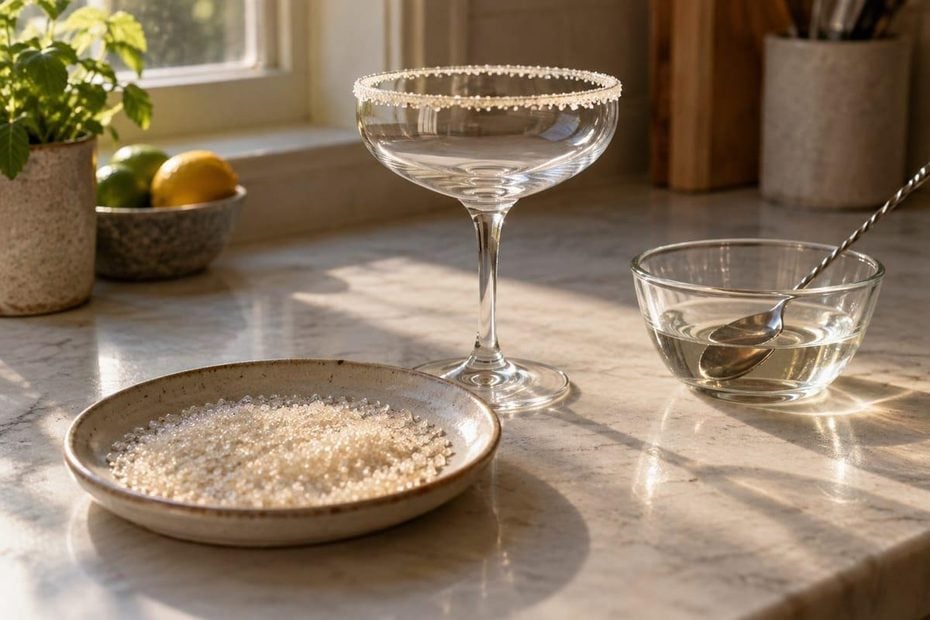
Scroll through any influencer’s summer story feed and you’ll see the same shot: a frosted glass, a crust of pale pink sugar catching the light, a lime wheel balanced on the edge. The drink inside barely matters. The rim is what makes the photo.
A sugar rim is one of the cheapest upgrades in home bartending, and you probably have the ingredients already. What separates a rim that looks bartender-made from one that looks like a toddler dipped the glass in a bowl is technique, and about four minutes of prep.
What a sugar rim does
A salt rim and a sugar rim are not interchangeable. Salt belongs on savory, citrus-forward drinks like margaritas and Caesars, where it sharpens the brightness and cleans the palate between sips. Sugar suits sweeter drinks and dessert cocktails, adding sweetness and the glittery texture that photographs so well.
Plain granulated sugar is the workhorse, with a clean, bright flavor that won’t muddy a sweet-tart drink with high acidity. Raw sugar runs deeper and slightly caramelized, which sits better against brown spirits like bourbon. Some rims blend both salt and sugar, or fold in spice, herbs or honey for something more layered, but the rule stays the same: the rim should echo what’s in the glass, not fight it.
Mixing your own blends
Flavored sugars cost almost nothing to make. Start with granulated sugar in a small bowl and work flavor into it until the color and aroma land where you want them.
Citrus zest is the most reliable addition. Grate lime, lemon or orange zest directly into the sugar and rub it between your fingers so the oils release and tint the crystals. For color, a drop or two of natural food coloring mixed through will do it, though a little goes a long way; too much turns the sugar damp and clumpy.
Other directions worth trying: crushed freeze-dried berries for pink, a pinch of cinnamon or cardamom for autumn drinks, finely chopped mint for a mojito-style rim, or a touch of cocoa for anything chocolate-forward. Let the blend air out for ten minutes if you’ve used anything moist, then store it in a small jar with a tight lid.
Commercial blends exist too, usually sold in sets of small jars covering chili lime, lemon drop, jalapeño citrus and similar profiles, often made without silicon dioxide as an anti-caking agent. They save prep time and deliver the same result every time, which matters when you’re pouring for a room full of people filming it.
Wetting the rim before you dip
Sugar needs something to cling to. Wet only the top quarter inch of the glass; go further and the rim turns into a sticky band that smears the moment anyone picks it up.
Water works but adds nothing. Juice is better, as long as it’s low-pulp: citrus is the default, though apple or pear cider, grape, pineapple, mango and passion fruit all work if they match the drink. Rubbing a cut lime, lemon or orange around the lip is the classic quick method.
For sugar specifically, simple syrup holds better than juice because it stays tacky longer and grips the crystals instead of letting them slide. Egg white does the same job. Plenty of bartenders run juice first, then a quick pass through simple syrup, for a rim that survives a car ride to the pool deck.
Choosing a sugar rimmer
A shallow plate works in a pinch: pour the sugar out, dip, rotate. The problem is that a flat plate scatters sugar across the counter, wastes a good portion of what you poured, and makes an even thickness nearly impossible.
A dedicated sugar rimmer solves those problems by containing the ingredient, usually with a built-in sponge that lays down juice more evenly than your hand can. The multi-tier versions keep salt, sugar and juice in separate labeled layers, so you can rim a margarita and then a lemon drop without cross-contaminating anything.
Fit is where most people get it wrong. Standard rimmers handle glasses up to about four inches across, which covers most coupes and cocktail glasses but not an oversized margarita bowl. If your glassware runs bigger, look at cocktail rimmers in the USA built with a wider lip or a tilting tray that can meet the glass instead of the other way around. Measure your widest glass before you decide.
Material comes down to how you want to store it. Food-safe ABS plastic goes in the dishwasher, doesn’t hold odors, and folds flat into a drawer. Acacia wood with a food-grade wax finish looks like a permanent fixture on an open bar cart, but it needs hand washing and occasional oiling to stay water-resistant.
How to rim without a mess
- Chill the glass first so condensation doesn’t thin your syrup.
- Wet only the outer lip, holding the glass at a slight angle so nothing runs inside the bowl.
- Press down into the sugar rather than twisting, which keeps the crust even.
- Tap the stem gently to shake off loose crystals.
- Set the glass upright and give it two minutes to set before pouring.
The half-rim trick
Current styling wraps sugar around the top half of the outside of the glass rather than just the edge. It looks dramatic on camera, but it also puts a lot of sugar on the drinker’s lip with every sip.
Rimming only half the circumference is the compromise bartenders tend to land on. Guests turn the glass to whichever side they prefer, and the photo still gets its sugar crust.
Cleaning up after
Rinse immediately. Sugar and salt both crystallize as they dry and turn into a crust that takes effort to scrub off a compartment corner.
Plastic rimmers go in the dishwasher. Wood goes under warm water by hand, promptly, then gets dried and set somewhere airy. Rinse any sponges thoroughly and let them dry fully, because a damp sponge left in a sealed compartment will smell before your next margarita night arrives.